Complete end to end Infrastructure Automation using terraform
Posted By : Rishabh Jain | 22-Mar-2022
Terraform is a IAC ie. Infastructure as a Code tool which is used for building, changing, and versioning of infrastructure very safely and efficiently. This can us with multi-cloud by having one workflow for all clouds which may be AWS, Azure, GCP etc. The infrastructure manages can be hosted on both the public clouds like Amazon Web Services(A.W.S) , Microsoft Azure, and GCP, or on private clouds such as OpenStack from redhat, or CloudStack. Terraform treats this infrastructure as code (IaC) so that we never have to worry about our own infrastructure getting away from its own desired configurations.
What to plan?
say our plan is to build an automated and complete end-to-end infrastructure with the help of IaC (Infrastructure as code) on Amazon Web Services Cloud. For this infrastructure, our first need is to generate a key-pair for secure login and a security group in EC2, so as to launch the EC2 instance with an extra attached EBS ie. Elastic Block Storage Volume for persistent storage. Then, our second need is to launch a webserver over the EC2 instance which will deploy the whole website code from your Github Repository. Now, we will launch a S3 bucket in which we will put some static content which may be image/videos as an Object and which will be deployed again from our Github Repository, and, also this same bucket will act as origin for the Cloudfront Service. Cloudfront will provide us with a unique URL which will deploy the static content from our S3 bucket to the launched webserver over the EC2 instance in a very few amount of time in seconds and with very low latency due to which we can access webpage easily and earlier. This complete infrastructure will be automated and built using Terraform over the AWS cloud.
Note: Make sure that Terraform is successfully installed on your system and its path is also set in environment variables before going through the mentioned steps.
Steps to be followed up:-
- Configuration of user's profile:
- AWS CLI must be installed on your system to run these commands on the prompt.
- Enter your AWS Access Key ID and AWS Secret Access Key for the respective profile here. (I have already entered mine)

2. Create a separate folder to store all the required data in one place and then write the code in steps in .tf file created here :

- A text file named ‘ec2.tf’ will now avaialable on the screen. Now, we can start to write the code in file.
3. Specify the provider ie AWS.

STEPS FROM HERE HAVE THE GLIMPSES OF THE RESULTS ON AWS WebUI AS WE WILL GO THROUGH THEM ONE BY ONE.
4. Launching a key-pair for secure login:
- A key-pair (public-key as well as private key) is generated using the following command on prompt.
ssh-keygen -f key_name
- we have already created our key-pair named as ‘ myawskey ’ using the above command. Now, launch this key-pair on AWS as well :


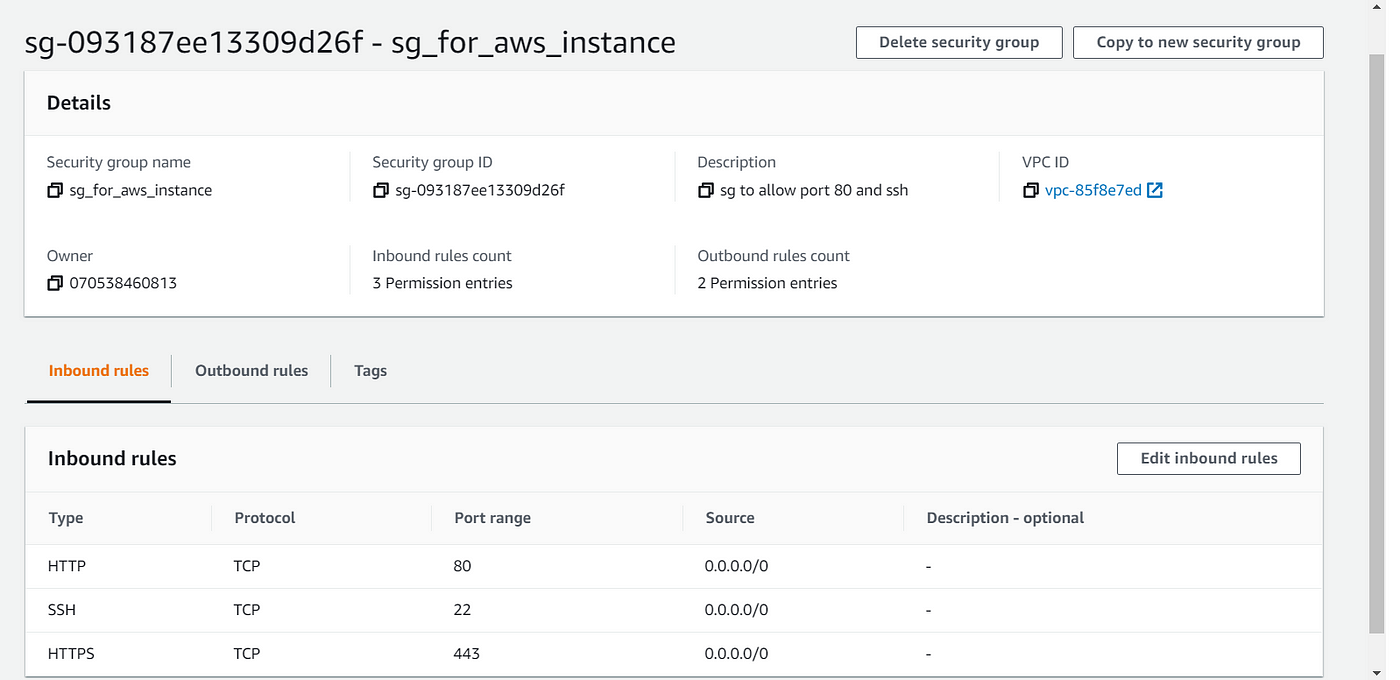
5. Launch a Security group:


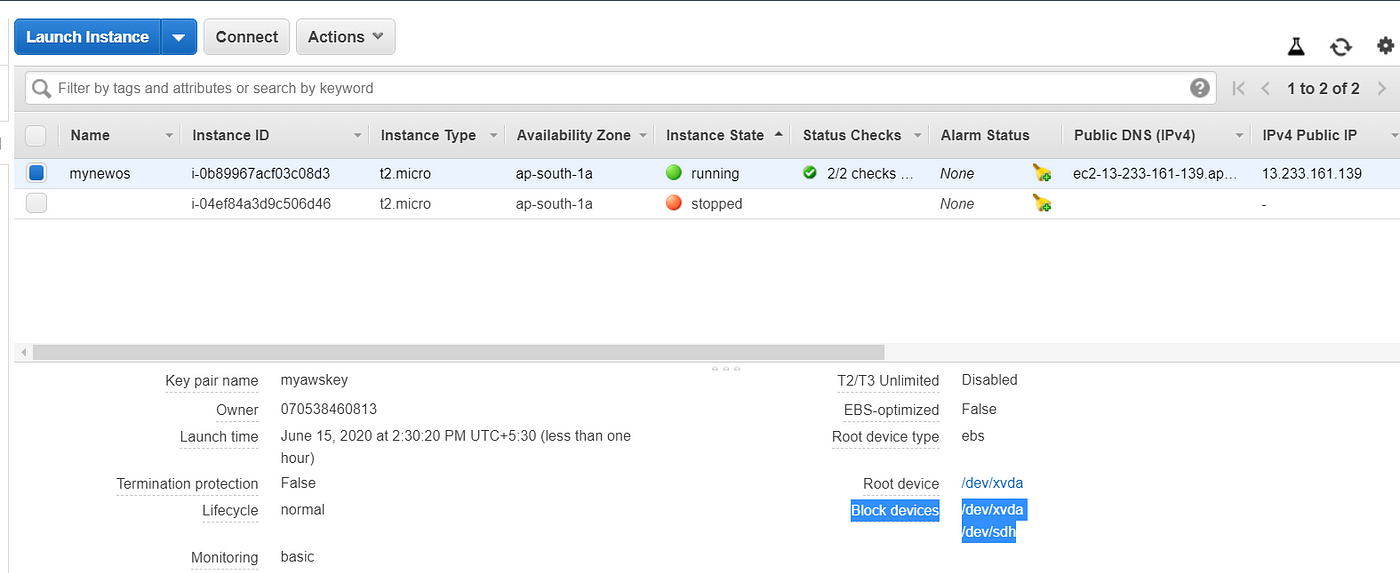
6. Launched an EC2 Instance with key-pair and security groups created previously:


7. Launch the EBS volume in the same availability zone as that of the EC2 instance :


8. Attaching EBS volume with the EC2 instance and also mounting the volume to folder /var/www/html :


9. Creating a S3 bucket :


10. Creating a S3 bucket object which is publically readable with permissions provided:


11. Create a Cloudfront distribution with S3 as Origin :


12. Creating a null resource to execute the command to display our webpage on the local system.

BASIC TERRAFORM COMMANDS :-
1. terraform init : this will initializes a working directory containing the Terraform configuration files.
2. terraform apply : this is used to apply the changes required to reach the desired state of the configuration.
3. terraform validate : this validates the configuration files in a directory, referring only to the configuration and not accessing any remote services such as remote state, provider APIs, etc.
4. terraform apply -auto-approve : this will skip interactive approval of plan before applying.
5. terraform destroy : this is used to destroy the Terraform-managed infrastructure.
6. terraform destroy -auto-approve : this is used to destroy the infrastructure without asking for confirmation.
All the steps have been succesfully run now and the whole infrastructure has been created.
Code to intiliaze the script:


Now, our webpage is been deployed and can be seen on webpage.

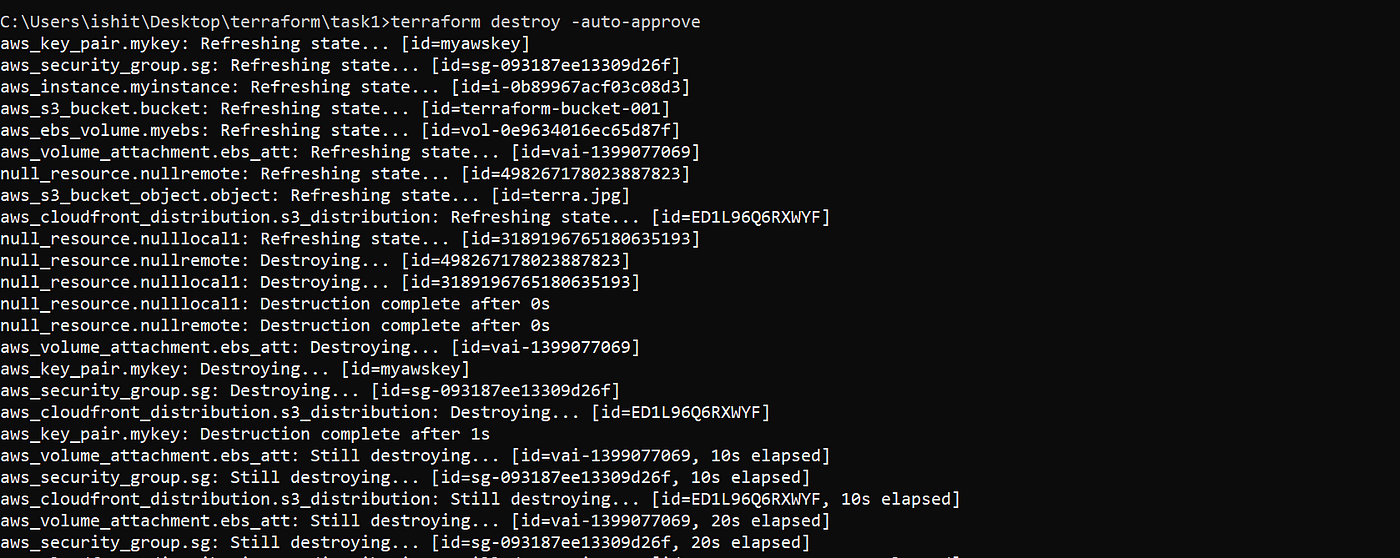
We can destroy the infrastructure using the following command:-

So, this is how we can build an entire end-to-end complete automated infrastructure on AWS using Terraform Script.
Cookies are important to the proper functioning of a site. To improve your experience, we use cookies to remember log-in details and provide secure log-in, collect statistics to optimize site functionality, and deliver content tailored to your interests. Click Agree and Proceed to accept cookies and go directly to the site or click on View Cookie Settings to see detailed descriptions of the types of cookies and choose whether to accept certain cookies while on the site.


About Author
Rishabh Jain
He is a Devops person who loves Automation and have skills in various technologies like Docker, Linux, Kubernetes, Ansible, Terraform and Many More.