How To Integrate Admob With Appcelerator Titanium
Posted By : Gaurav Kumar | 30-Apr-2018
In this article, I am going to show you how to integrate Admob module for android and ios platform in Appcelerator Titanium. There are many module available for admob, but I am going to use ti.admob module. We are going to create the new mobile project in Appcelerator Titanium.
To create a new Alloy project:
- In Appcelerator Studio, select File > New > Mobile App Project.
- Select the Default Alloy Project type and click Next.
- On the Project Location screen, enter Test2 for the Project name and com.oodles.test2. Replace your-domain with your personal or organization's domain. Leave the other fields at their default values.
- Click OK.
The new project opens in Appcelerator Studio. And we can check the configuration file of our project to check our titanium SDK version. So we have to download the ti.admob module and you can download the ti.admob module from the given GitHub link i.e.
For the sake of this article, I am using the latest version of ti.admob module for both android and ios platform and I am using latest titanium SDK version i.e. 7.1.1.GA. So once you downloaded the module, we have a zip file and we have to extract that zip file. After extracting the zip file, we have to paste the ti.admob module under modules folder of our application folder structure. And under modules folder, we have different platform folders such as android and ios. So we have to paste under android and ios folder.
The next step is to cross-check that whether a module is added successfully or not. So in order to check, we have to open the configuration file of our project i.e. tiapp.xml and under module section, we can check that the added module is there or not. If the added module is not there, then we have to add by clicking on plus button. After clicking on plus button, a new dialogue window comes up and we have to select our newly added module in order to add to the tiapp.xml file.
Step 1: We have to add the module in our JS file and the code is
// require AdMob module
var Admob = require('ti.admob');
Step 2: Next we have to check google play service is available or not and the code is
// check if google play services are available
var code = Admob.isGooglePlayServicesAvailable();
if (code != Admob.SUCCESS) {   alert("Google Play Services is not installed/updated/available");}
Step 3: Next we have to create and AdMob view and the code is
// create an adMob view
var adMobView = Admob.createView({
publisherId:"<>",
testing:false, // default is false?
//top: 10, //optional
//left: 0, // optional
//right: 0, // optional
bottom: 0, // optional
adBackgroundColor:"FF8855", // optional
backgroundColorTop: "738000", //optional - Gradient background color at top
borderColor: "#000000", // optional - Border color
textColor: "#000000", // optional - Text color
urlColor: "#00FF00", // optional - URL color
linkColor: "#0000FF" //optional -  Link text color
//primaryTextColor: "blue", // deprecated -- now maps to textColor?
//secondaryTextColor: "green" // deprecated -- now maps to linkColor
Step 4: In above code, we have to replace the publisher id with the one we obtained from Google AdMob platform.
Step 5: Next we have to add a listener for adreceived
//listener for adReceived
adMobView.addEventListener(Admob.AD_RECEIVED,function(){  // alert("ad received");
Ti.API.info("ad received");});
Step 6: Next we have to add a listener for adNotReceived
//listener for adNotReceived
adMobView.addEventListener(Admob.AD_NOT_RECEIVED,function(){
//alert("ad not received");
Ti.API.info("ad not received");});
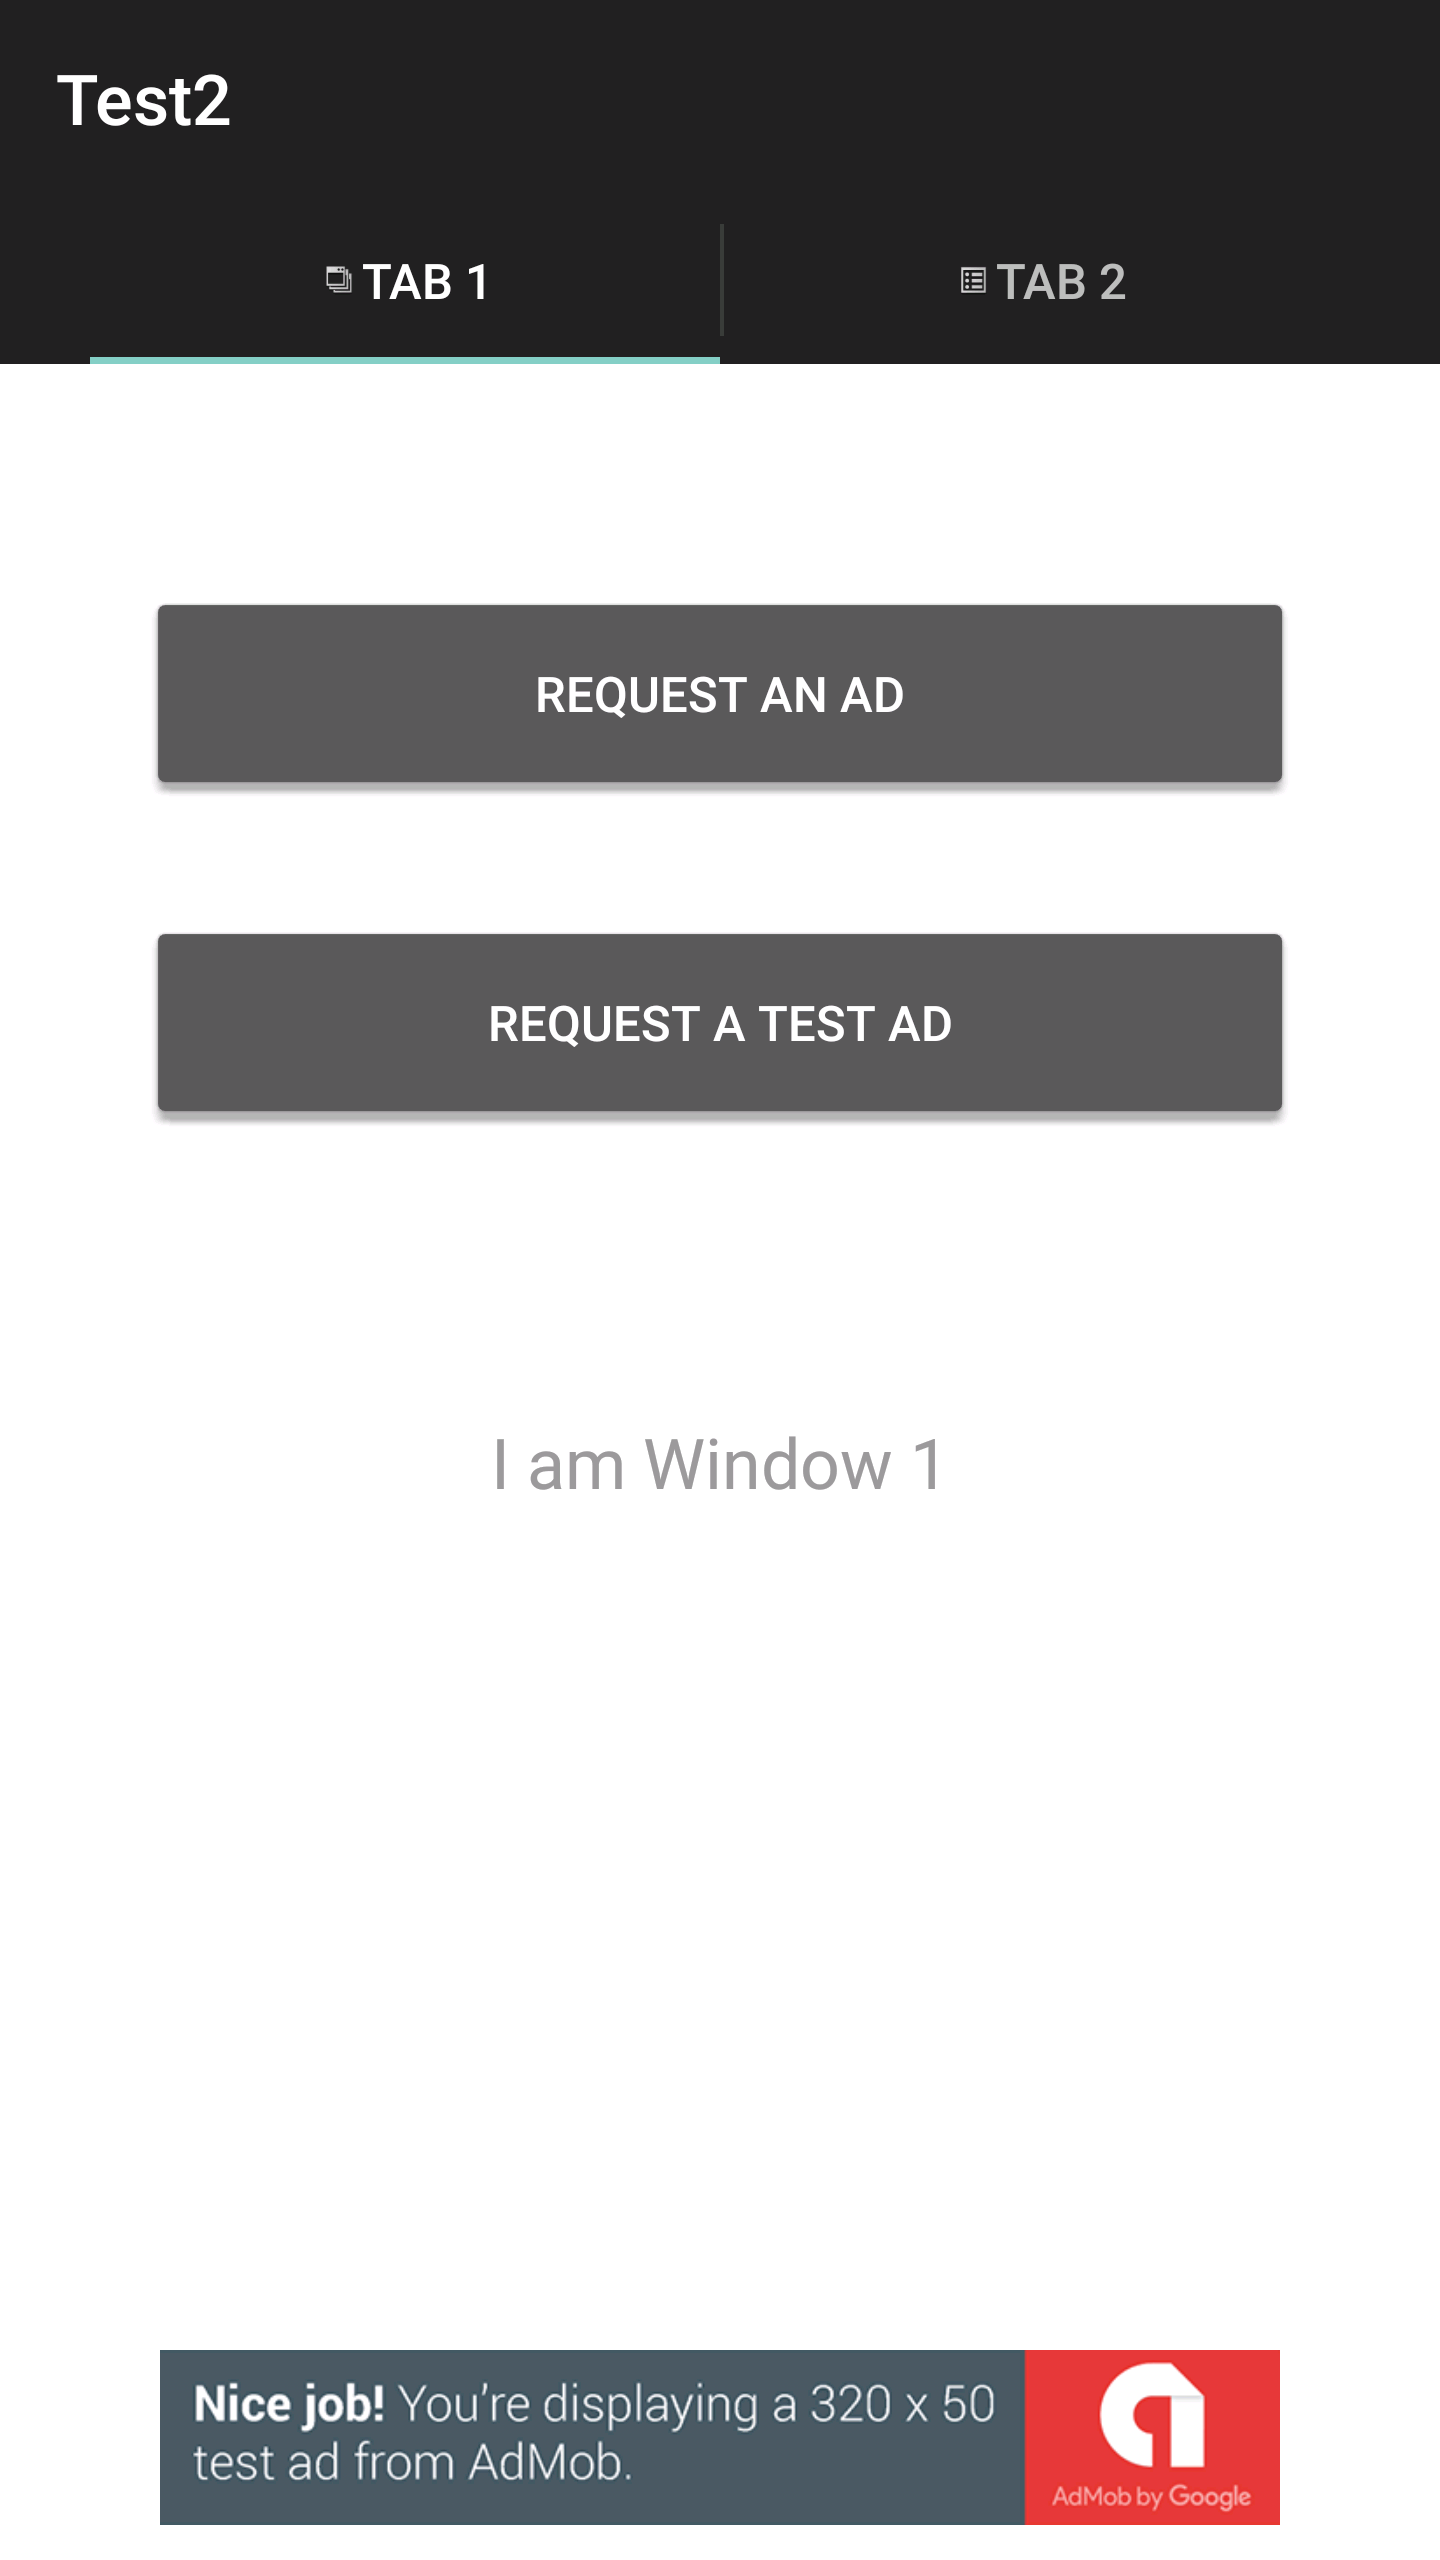
Step 7: On button click, we are going to receive an ad from AdMob. And we are adding an event listener for the button.
var adRequestBtn = Ti.UI.createButton({
title:"Request an ad",
top:"10%",
height: "10%",
width: "80%"?});
adRequestBtn.addEventListener("click",function(){
adMobView.requestAd();});

var adRequestBtn2 = Ti.UI.createButton({
title: "Request a test ad",
top: "25%",
height: "10%",
width: "80%"});

adRequestBtn2.addEventListener("click",function(){
adMobView.requestTestAd();});

win.add(adMobView); // adding adMobView to the window.
win.add(adRequestBtn);  // adding button to the window.
win.add(adRequestBtn2); // // adding button to the window.
win.open();
The final output screen is


Cookies are important to the proper functioning of a site. To improve your experience, we use cookies to remember log-in details and provide secure log-in, collect statistics to optimize site functionality, and deliver content tailored to your interests. Click Agree and Proceed to accept cookies and go directly to the site or click on View Cookie Settings to see detailed descriptions of the types of cookies and choose whether to accept certain cookies while on the site.


About Author
Gaurav Kumar
Gaurav Kumar is a software developer having skill set in java and mobile application development.