CocoaPods Installation iOS
Posted By : Nitin Bhatt | 12-May-2016

What is Cocoapods :-
Cocoapods is a dependency manager for Swift projects. CocoaPod or pod is a general term used for a library of framework , It is a easy way to import libraries to the project and handle its dependencies,CocoaPods has over eighteen thousand libraries.
Using Cocoapods save the development time, you don’t need to drag and drop the file and download each folder.
Configure Cocoapods using Swift : -
1) Open Terminal
2) Install Cocoapods ,Command to install Cocoapods :-
$ gem install cocoapods
3) Go to your project location , Create podfile using this command :-
$ touch podfile
4) Open podfile using this command : -
$ open podfile
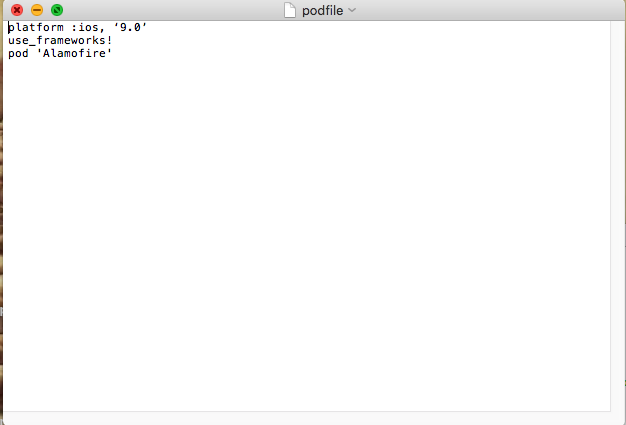
5) Write this code inside your podfile :-
platform :ios, ‘9.0’
use_frameworks!
pod ‘Alamofire'

6) Close your podfile , install pod file using this command :-
$ pod install
7) Open your project in Xcode by running this command from the Terminal in your project directory :-
$ open AppName.xcworkspace
8) Add "import Alamofire" at the top of Swift file that need these classes.
Description :-
use_frameworks! : -
Cocoapods 0.36 and above introduces the use_frameworks! instruction which implies that the bridging header is not required for importing pods in swift.
platform :ios, ‘9.0’ : -
The Platform describes the minimum version in terms of compatibility.
THANKS
Cookies are important to the proper functioning of a site. To improve your experience, we use cookies to remember log-in details and provide secure log-in, collect statistics to optimize site functionality, and deliver content tailored to your interests. Click Agree and Proceed to accept cookies and go directly to the site or click on View Cookie Settings to see detailed descriptions of the types of cookies and choose whether to accept certain cookies while on the site.


About Author
Nitin Bhatt
Nitin is an Assistant Project Manager specializing in iOS Application Development. He is an avid reader.